
How to control preheat time of oven
Creating a cozy summer home that serves as a peaceful retreat requires careful selection of appliances that enhance comfort without compromising on style or efficiency. At Appliances 4 Less Little Rock, we cater to residents in Little Rock, Benton, Conway, and Pine Bluff with an array of open box, scratch, and dented appliances that are perfect for elevating your summer living. Here’s our guide to the essential appliances for a cozy summer home.
Baking, a combination of science and Art in cooking, is almost exacting in its attention to detail. The seemingly insignificant amount of time it takes to preheat the oven actually holds the key to successful baking. A precise preheat, as if for the ingredients into the soul, let them bloom in the oven the most attractive luster. I’ll take you deep into the mystery of oven preheating time, help you master the essence of baking, and make every baking a perfect artistic creation.
1.Use preheat indicator light
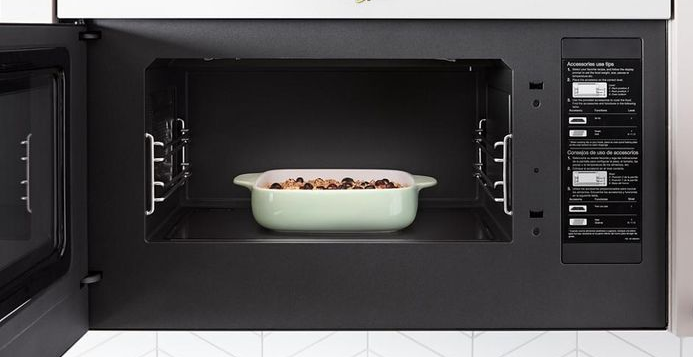
The preheat indicator, a seemingly insignificant gadget, is actually a faithful messenger of the oven’s preheat process. When the preheat starts, the indicator lights up immediately, declaring that the oven is warming up. When the preheat is complete, the light will either go off or change color to let you know that the oven is ready. But note that different oven preheating indicator light reaction speed is different. Therefore, during the warm-up period, you should not only keep an eye on the indicator, but also observe the color change of the heating element, both ways to ensure that the warm-up is correct.
2. Using a timer
Time management is as important as temperature control in the fine process of baking. A highly accurate and reliable timer is a great tool for the Baker to control the preheating time. The length of preheating time is not only affected by the type and capacity of the oven, but also closely related to the set baking temperature. Therefore, before preheating, the Baker must carefully estimate the preheat time according to the oven instructions and set a precise timer. When the timer rings, the Baker should immediately confirm whether the preheat of the oven is completed by combining the flashing state of the preheat indicator and the color change of the heating elements, lay a solid foundation for the next baking step.
3.Use an oven thermometer
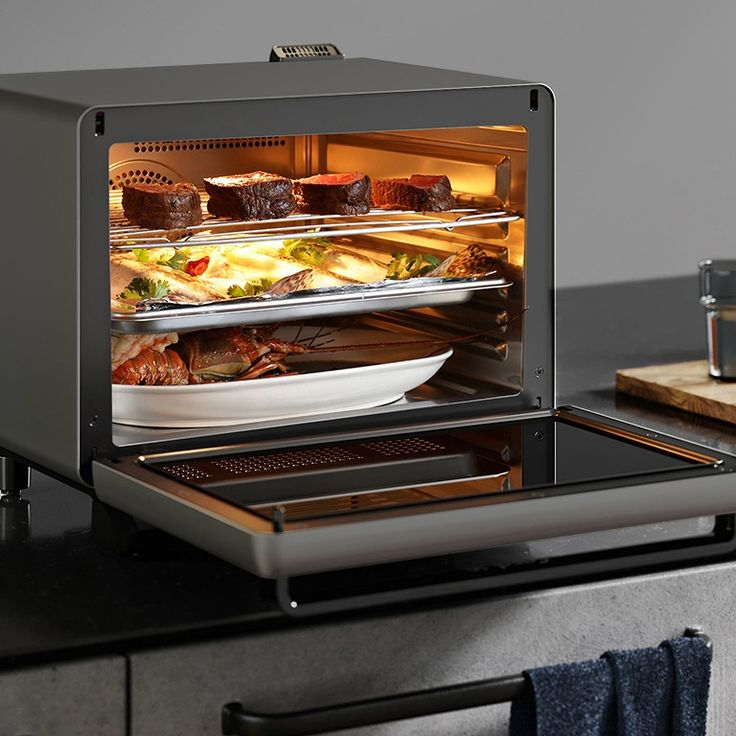
Although most modern ovens are equipped with temperature controls, the art of baking allows no compromise, as subtle deviations often lurk between the actual temperature inside the oven and the set value. To ensure the absolute accuracy of the baking temperature, we must use a high-quality independent oven thermometer, as the precise guardian of the baking process. At critical moments of preheat, the thermometer should be positioned precisely in the center of the oven. The actual temperature data should be monitored and recorded at all times. If discrepancies are detected, we need to quickly and decisively adjust the preheat time or oven settings until the desired baking temperature is reached, make every baking the perfect artistic presentation.
4.Record and adjust
Every time you bake, you accumulate valuable experience. In order to keep improving the baking technique, be sure to record the preheating time, temperature setting and results of each baking. Through comparative analysis, you will gradually master the different ingredients, recipes for preheating time requirements, so as to more accurately control the preheating time.
Conclusion
Precisely controlling the preheat time of the oven is the only way to reach the peak of baking. Every warm-up is a reverent homage to the art of baking; every adjustment is a courageous transcendence of one’s craft. May you continue to improve your craft, enjoy the joy and accomplishment of each baking, and make baking the most glorious chapter of your life.


